Cool news!
“Name me a food, and I’ll tell you a story.”
My creative nonfiction piece “Food Memories” is in issue 43.2 of Room Magazine.
putting one foot in front of the other since i could walk
Cool news!
“Name me a food, and I’ll tell you a story.”
My creative nonfiction piece “Food Memories” is in issue 43.2 of Room Magazine.
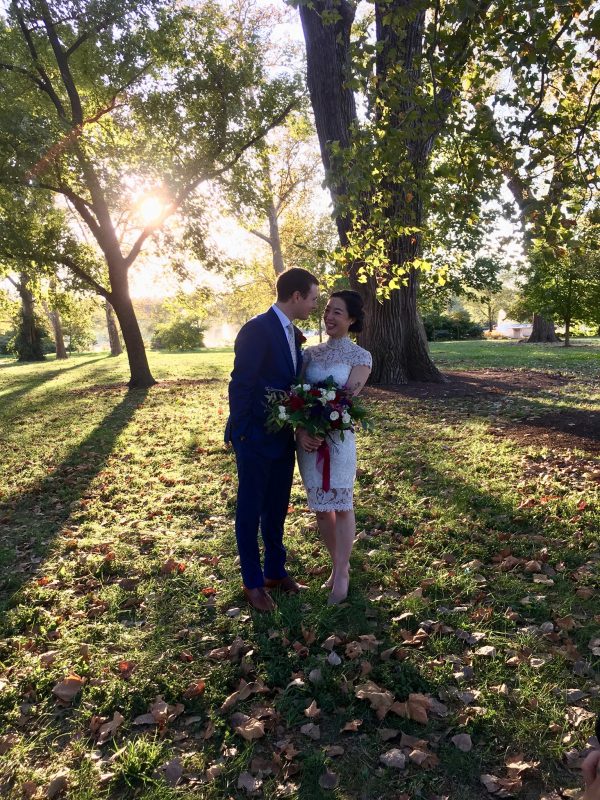
How do I begin to describe Jessica?
We came into the world together, and it’s hard to pick one memory to share. But as I rolled through the movie of my life with her, I found a pattern.
In the darkest memories of my childhood, Jessica’s not there.
She’s not there when I’m biting other children, making fun of my classmates, or cheating on my Chinese test in second grade — as if her absence from these early scenes gave me an excuse to behave at my worst.
I like to imagine I’ve turned things around. Because at some point, I started asking myself: What would Jessica do here?, and I began to like my choices a whole lot more.
In other words, Jessica makes me a better person. And if you ask any of her classmates, colleagues, friends, or family, they’d all agree: Jessica makes the people around her better.
She says what she means and does what she says she’ll do. She listens without judgment and gives without expecting anything in return. She makes time and space in her life for the people she loves.
Anyone who’s spoken with her for five minutes knows that she’s magnetic, intelligent, hardworking, creative, curious, and funny.
But above all, she is kind.
Chris, congratulations! You’re now married to the best person I know.
I’m so happy Jessica met Chris. Her eyes sparkle when she talks about him — even when she’s complaining about him complaining about the mess she leaves in their apartment.
Early in their relationship, when Jess described Chris’s life in Ximu and showed me videos of him teaching a classroom of six-year-olds, I knew he had the patience, introspection, creativity, sense of humor, and, best of all, kindness to inspire Jessica to be better too.
And I think kindness multiplied is the best kind of kindness.

“I guess so. Maybe. I don’t know.” He sings this line when he does an impression of me and I hear it for days like a jingle from a TV ad.
I tell people I have no opinions. I’m not cultured and make no effort to be. I don’t read enough books, listen to enough music or podcasts, or watch enough documentaries to have an opinion about anything.
Lots of people tell me I must love Wes Anderson films. But I hate Wes Anderson films. I hate their cardboard characters and find the symmetry of the images obnoxious.
Lots of people tell me they bet I keep house plants and subscribe to Kinfolk magazine. Plants die when I think about them and I’m too cheap to pay for printed matter or hang out in coffee shops.
And lots of people tell me The Unbearable Lightness of Being must be one of my favorite books. You know, I racked up a $20 library fine trying to get through the first 30 pages before I gave up, shoved it through the book-return slot, and dusted off my hands.
No wonder I have no opinions. Everyone else has them for me!
But let me tell you this. I may not know what I like, but I know what I don’t like. I don’t like junk boats. I don’t like having my hair pulled. And I really don’t like it when people tell me what I think.
Like, if you want to know my thoughts, why don’t you just ask me?
I guess so. Maybe. I don’t know.
Originally written in 2008.
Kissing— biting—
Kleist’s Penthesilea
Where is the difference? When we truly love
It’s easy to do one when we mean the other.
When you say, “I love you,” the words tumble out of your mouth like chewing gum. “I love you.” What does that even mean? Like the mechanical regurgitation of an automaton. Shut up! Don’t tell me. I want you to SHOW me! ShowmeshowmeSHOW me, don’t tell me, because if you can sum up the way you feel about me in eight letters and three words — hell, if you can sum up the way you feel about me at ALL, then maybe it isn’t enough. Because I want you to feel so strongly about me that it steals the words out of you. Sucks them right out of your consciousness. I want it to make you speechless, so you couldn’t even dare to dare to put it into words, or even contort your mouth into the shapes of vowels. I want it to make you want to burst. And I really, really want you to show me.
Smile so sincerely that I can see the creases around your mouth and predict where time will carve wrinkles into your face, even if we’ll be strangers to each other then. Smile even if you think you look goofy, and damn it, stop feeling so self-conscious. Smile so that there are crow’s feet at your temples and your eyes become half-moons. Let me memorize the gaps between your teeth, the colour of your enamel, the subtleness of your overbite, and let me run my thumb along your bottom lip, it looks so soft, so smooth, like a pink marshmallow. Smile so that the only thing that feels right is for me to smile too, like I can’t help it. Smile so that I can feel your warm breath on my cheek, so that it sets my cheek on fire. Smile so that all I want to do is kiss you and I can’t help it.
So kiss me, please. Please, kiss me! I mean, kissing sometimes feels really weird when you think about it. I mean, what drives people to put their lips together in the first place? The mouth is actually really weird! I mean, think about it: it’s the same mouth as the mouth you suckled at your mom’s boob with, the mouth you drool out of in your sleep sometimes, the mouth you shovel cereal into every morning, the mouth you puked out of when you had too many shots that night, the mouth you suck on your cigarette with, the mouth you spit onto the pavement with like a trucker. I mean, yuck! Who knows what’s been in your mouth, or out of it, or what your mouth has been in contact with, in all of your history? But you know what? I DON’T CARE! Kiss me anyway. I’ll take all of you—the milk, drool, crumbs, vomit, tar and nicotine, even the phlegm! And you’ll have all of me, and my spit. A fair exchange! Show me how much you feel for me. Close the space between our faces, pour yourself into me and I’ll pour myself into you. Just don’t inhale too hard. Because once I had this boyfriend who really liked the Foo Fighters. He liked them so much that he decided he’d test out one of their lines on me. “Breathe out so I can breathe you in,” he instructed. Then he took my face in his hands, closed his mouth over mine, and sucked the life force out of me. It was repulsive. I felt like he was vacuuming my soul out of my ribcage, so I dumped him after two weeks. Anyway, I want you to kiss me! Kiss me like you mean it, not to rip off some stupid song lyric! Kiss me as if it’s the last time we’ll ever see each other, like tomorrow the earth will fracture into two, and where we’re standing is where the fissure will begin, so you’ll be on one half of the earth and I’ll be on the other, and we’ll be hurtling towards opposite ends of the universe. Kiss me like you believe this is going to happen, even if it never will, because gravity’s holding the world together. And gravity’s keeping you from bursting.
But let’s be honest. There is only so much that kissing can convey. Because there is that point when kissing just isn’t enough anymore, when we need to go BEYOND. That’s why we stopped smiling and joined mouths, right? We wanted more! We still want more! Because smiling leads to kissing leads to heavy breathing leads to heavy petting leads to shedding clothing leads to, leads to… leads to… sex? It’s a slippery slope! Saying “I love you” doesn’t cut it. Smiling doesn’t suffice, either, so kissing takes its place — but if kissing isn’t enough, is sex the ultimate way of showing how you feel for me? No! It can’t be! It would imprison us in this horrible mortal way of being, mechanical like “I love you,” only more physically demanding. I don’t want that, because what I really want is for you to burst, because you can’t contain how you feel for me, because your body can’t encase the infinite!
So I invite you to take a bite of the flesh above my collarbone. Go ahead. Please. This is the only way. There is no other way for you to truly express how you feel for me. And if you like my flavour — which I KNOW you do, I mean, you can’t not, because the way you’ve kissed me in the past, it was like you were completely ravenous — then work your way down the rest of my body, and don’t let ANY part of me go to waste. I need to be inside you! ALL of me! Not just the flesh parts! Put my bones in a blender, and my skull, oh, and my organs too, because I realize my heart and brain and the rest of my insides might make you a little queasy, so it might be easier to just drink it all in a stew. Put the rest of me in a blender, plug your nose if you must, and drink me up. Resist your gag reflex! I know it might be hard for you, but we have to do this! We have to!
Eat me whole! Finish me! Hurry! I want to be under your skin! I want to course through your veins, to conquer every cubic inch of your heart! I want to experience everything with you, and I mean EVERYTHING. I want to feel it when you get your finger caught in the door. I want to know everything you know, to know the ridges of your brain, to know exactly how you’re reading that story for class, what you think of the queen who cannibalized her lover. I want to taste everything you are eating, even if it means tasting cheese, which I absolutely hate, but I won’t now that tasting it confirms that I am a part of you. I want to know your dreams, to see just how similar they are to mine. And if our dreams aren’t similar, well, then I’ll manipulate them so that they are! I want to understand every facet of your identity, to remember every detail of every memory you have, like the time your uncle taught you how to ride a bike, and how proud you felt pedalling down the street. I want to know so much! But most of all, I want to know how strongly feel for me. I want to know what it feels like to almost burst.
So eat me. It’s the only way I’ll be able to gauge anything. It is the closest two people can get to each other. Eat me, and leave “I love you” for amateurs.

Sometimes I’m scared I have nothing to say. This fear makes me want to hide in a hole in the ground and stare at my feet. Well, the other day, when I was staring at my feet, I saw my big toe poking out of my sock.
Enough.
I stitched up the hole like a bad scar on a cartoon pirate. I gathered all my other socks with holes in them and put them through the sewing machine. Then I found an old sketchbook and began to draw.
I made a stack of postcards and sent them far away from here, one to Japan, one all the way to Whitehorse, another to my own mailbox.
I sent a postcard to my childhood best friend. When I was ten years old and my family moved from Hong Kong to Toronto, my best friend and I wrote each other every week. I found a shoebox full of her letters the other day. She’d write about her friends, the music she loved, her desire to run for student council. She’d experiment with printing address labels off the computer and teaching herself to play the guitar. She had a baby a few months ago, and this makes me smile. Her baby is lucky to have such a generous and creative mother, just as I’m lucky I had such a generous and creative friend when I needed someone to talk to twenty years ago.
I sent a postcard to a friend in Toronto. In the winter we used to wait by the window in chemistry class hoping for a good snowfall. If the snow was very good, we would take the cross-country skis from the Phys. Ed. equipment room and race down the Beltline Trail, teenaged snow-nerd maniacs ripping through the city after school. When my friend received her postcard, she emailed to tell me about her life now. She’s doing her residency, and she’s figuring out a way to make the most of her talents and knowledge to help other people. I’m not sure she knows, but she’s always inspired me to think about how I can be more helpful, too. I’m still working on this.
I sent a postcard to a friend who left Hong Kong when her father died at the end of last year. She is one of the strongest people I know. It’s a good thing I didn’t Google her before I met her because then I might have been too intimidated to talk to her. She puts her head down and gets stuff done, especially when things get tough. She writes her way through the world and takes no bullshit. She reminds me to cut the bad noise out of my life to make room for other voices to sing. Maybe I’d be happier if I listened to her harder.
I don’t remember what I wrote to each of my friends. But I remember how once upon a time we occupied the same time and space and shared our stories and secrets and dreams with each other. Isn’t that something?
I sent these postcards to my friends to say: “Hey. I’m alive. I wonder how you are doing.” I guess that’s what I’ll always have to say, and that’s more than enough.
